How to Build: Digital Journal in Notion ( + free template)
Share

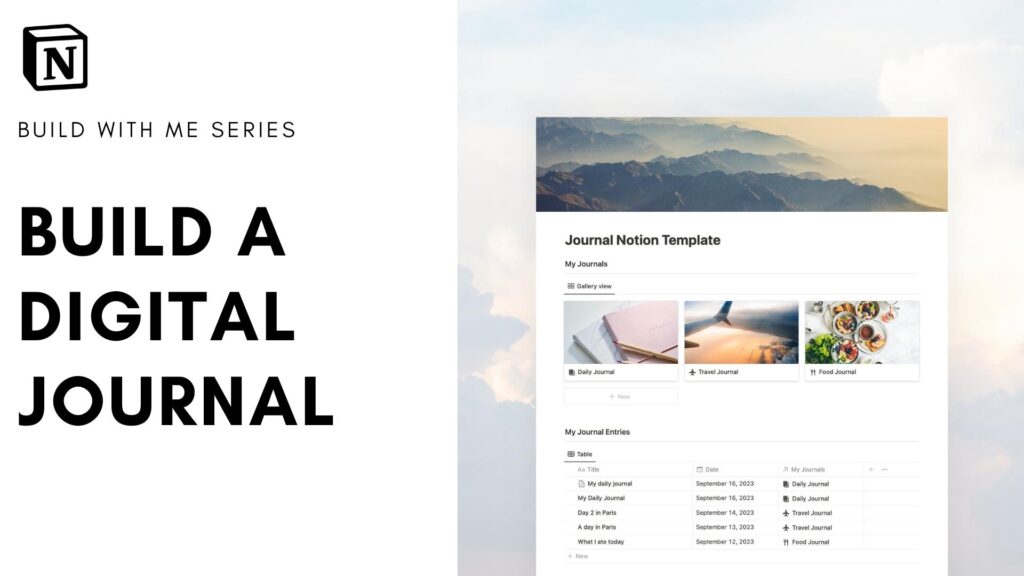
In this tutorial, we will guide you through the process of setting up a digital journal using Notion.
A digital journal offers the flexibility to organize and store your thoughts, memories, and experiences while leveraging the power of digital tools. Moreover, journaling has amazing benefits for personal growth as it allows us to reflect on our thoughts, emotions, and experiences. The process helps us gain a deeper understanding of ourselves, capture memories, and cultivate gratitude in our lives.
While many people prefer to write in a physical journal, we think a digital journal is also a great tool because it offers convenience and the ability to access it from anywhere with an Internet connection. We hope this build-with-me video will help you get started with journalling online!
Let’s get started!
We hope this build-with-me tutorial will help you get started with Notion and create an amazing journal space for you to organize and reflect on your thoughts. We recommend you to open your Notion workspace and follow our video at the same time so you can learn faster by building. You can also download the finished template for free below!
Creating Your Digital Journal with Notion: A Step-by-Step Guide
1. Create an Empty Notion Page:
- Begin by opening a new blank page in Notion.
- Title this page to “Journal Notion Template.”
2. Set the layout
- Enhance the visual appeal by adding a cover photo. Notion allows you to access a vast library of stock images from Unsplash.
- For instance, you can select an image that resonates with your journal
- Refine the image’s position to your preference and save it.
- Increase the workspace by using the “small text” option with full width.
- Divide the page into two essential sections: “My Journals” and “My Journal Entries.”
3. Create a Database for Journals:
- Type
/databaseand choose the “Gallery” view and name it “My Journals.” - Define types of journals you want to have and choose matching cover photos/icons
4. Create a Database for Journal Entries:
- Type
/databaseand select the “Table” view and name it “My Journal Entries.” - Define Journal Entry Properties such as Dates and Tags
- Connect two databases through a relational property (as in the video)
- Create a default template for your journal entries (as in the video)
Finalize the template
- Test the template: by adding examples in both databases to see if there is any error
- Ensure a clean look: by hiding the database titles
- Set Default Template: set the created template as the default for adding new journals. This step reduces the need to select the template manually each time you add a journal.
- Sorting and Managing Journal Entries: Organize journal entries by sorting them based on the date in either ascending or descending order, as per your preference.
-
Visual customization: You can customize journal entries further by adding photos, formatting text, and using Notion’s creative features. Include images using the
/imagecommand, and you can embed links, use Unsplash, or even incorporate GIFs. - Advanced Journal Features (Optional): Explore advanced features like column layouts, font changes, and creative formatting to enhance your journal entries.
Congratulations! You created a digital journal in Notion
You’ve now set up your digital journal using Notion! This template will help you maintain multiple journals, each with its unique cover photo and icon. You can swiftly create new journal entries, customize the templates, and sort entries based on date.
Download our template
For a finished version of this practice template, please download it below and test it out. Although it’s free, we’d greatly appreciate donations so that we can continue doing this!
We also have plenty of other journal templates dedicated to different uses: mood journal, mental health journal and journal cover photos. Check them out below!
Mood Journal & Tracker Notion Template
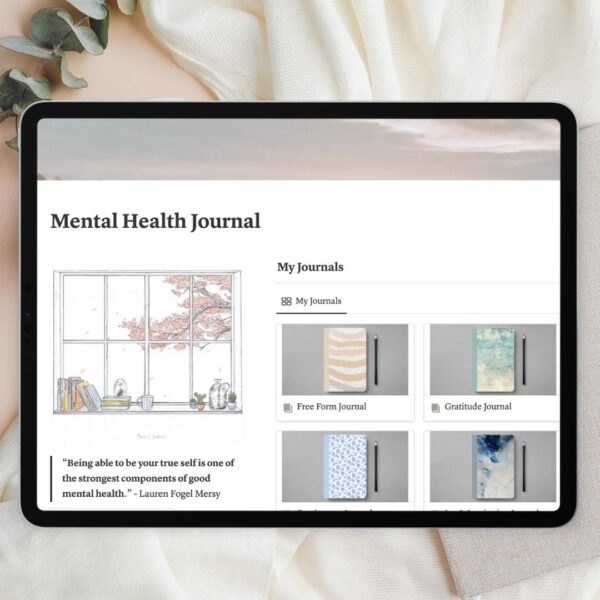
Mental Health Journal Notion Template
Notion Journal Cover Photos (Gallery View) – 30 photos
If you have any questions, or comments, or need clarification about any aspect of this tutorial, don’t hesitate to share your thoughts in the comments section below. We look forward to seeing you in the upcoming tutorial!

