How to Build a Menu & Recipe Planner with Notion ( + free template)
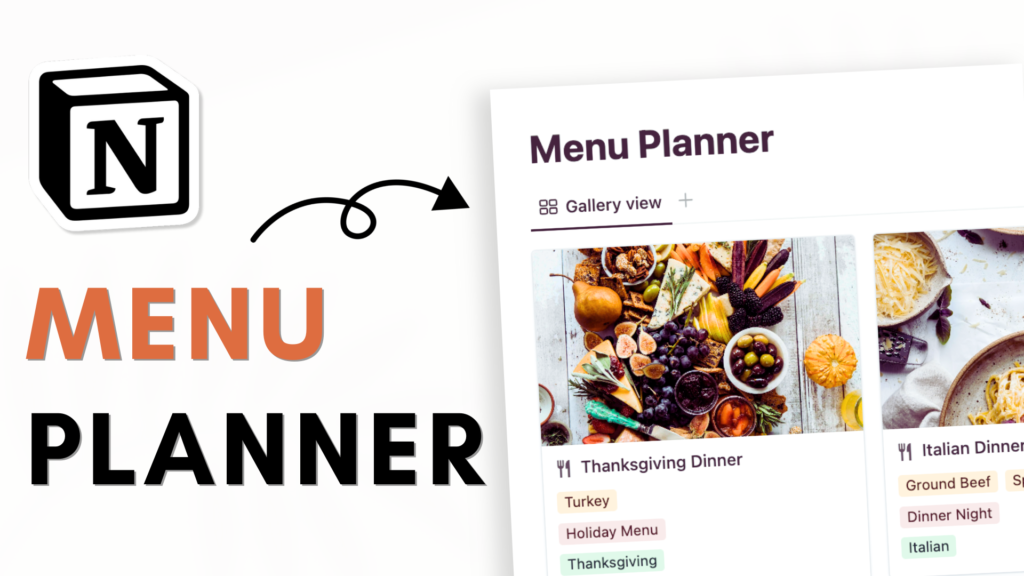
Notion is a great tool for planning menus and storing recipes! As we gear up for the holidays, we’ll show you how to create a recipe & menu planner notion template for everything from Thanksgiving feasts to casual get-togethers with friends.
Here’s a step-by-step guide to help you get started with this recipe & menu planner Notion Template!
Setting Up the Menu Planner:
- Begin by titling your Notion page as “Menu Planner” and add some personality with an icon or cover photo.
- Click “Add Icon” to add an icon and “Add Cover” to add a cover photo/
- Make it easy on the eyes by adjusting the page layout for better readability. Try small text and full width by going to the top right-hand corner three dots for page settings.
Creating Databases:
- Type “/database” and choose gallery view. Title it “Menus”
- Type “/database” below the previous database, choose gallery view again and title it “Recipes”.
Working on the Recipes Database:
- Start adjusting the “Recipes” database
- Add properties like “Course,” “Ingredients,” and “URL” for each dish.
- Choose a relation property to relate it to the “menu” database.
Building Menus and Connecting Recipes:
- Let’s try creating an “Italian Dinner Night” menu. Add tags and properties to the menu database.
- It should already be connected to the “recipes” database, but double-check the connection.
- Use rollup properties to highlight key info like ingredients and tags.
Creating a Template for Menu Database:
- Craft a database template for displaying your menus so you have the same template every time you create a new menu.
- Use a linked view of the recipes inside of the “Menu” and filter it by that specific menu.
- Double-check that it works!
Adding Notes and Cleaning Up:
- Add a notes section to your menus for extra information.
- Set your template as the default for all views to keep things streamlined.
- Clean up those titles and layout settings for a polished, professional look.
Using Notion’s Web Clipper:
- Integrate Notion’s Web Clipper to easily add recipes directly from the web.
- Save recipes to your recipes database, creating a seamless integration. For more information on how to use webclipper, check out this article HERE!
Let’s start building your Recipe & Menu Planner in Notion!
We hope this build-with-me tutorial will help you get started with Notion and create a functional menu & recipe planner Notion template. We recommend you to open your Notion workspace and follow our video at the same time so you can learn faster by building. You can also download the finished template for free below!
New to Notion?
Learn more about Notion from our classes. We recommend you check out our tutorials and build-with-me tutorial series to learn Notion more efficiently by practicing and building. Keep experimenting with Notion functions and you will surely find a way to adapt them to your specific needs!
✨ Interested in trying out Notion? Notion has free plans for all users as well as paid plans for more advanced features and you can sign up here
✨ Interested in Notion AI? If you like to try to see how Notion AI automates your workflow, find the link to sign up here.
Full disclosure: we are a Notion Partner, so when you sign up with our link, you also help support us and our content!
Download our Templates
For the finished version of the template that we built during the build-with-me tutorial, download it for free below and check if everything is the same as your version!
Make sure to add code: MENU100 during checkout to get it for free. We are doing this to prevent bots from downloading our entire template library. Although it’s free, we would greatly appreciate any support so that we can continue doing this. ❤️
If you have any questions or need further clarification on any of the steps discussed, please don’t hesitate to ask us!